 |
Volume II, No. 2, Winter 1974 |
APPLEHEAD DOLLS
Dolls are one of the oldest forms of entertainment in the world. Now they are made with fancy clothes and delicate hair, with mechanical insides that enable them to walk, talk and drink. But when times were not as affluent and parents could not afford to buy them, they made their own from whatever their ingenuity could devise--from rags to walnut shells. A unique, yet humble, homemade doll is the applehead doll. Nona King who has been making applehead dolls for fifteen years showed us how to make them.
The applehead doll is made in two parts, the head and the body. For the head all you need are a solid apple, potato peeler, paring knife, a small piece of wire about 8 to 10 inches long, a teaspoon and some lemon juice.
1. Peel the apple with the potato peeler. The brand of apple doesn't matter as long as it is solid. A green apple works better.
2. After you peel it, take the spoon and press two places for the eyes with the bowl of the spoon turned upside down. The spoon makes indentations into the soft apple. Press a place a little lower for the under part of the nose. To finish shaping the nose, carve around it with a paring knife to shape it kind of slender and sharp. Next with the spoon right side up, press a place for the mouth, then two places on the side of the head for the ears. Turn the bowl of the spoon away from you and press around these indentations for the ears. Carve around the eyes, ears and mouth with a knife to shape the cheeks, forehead, lips and chin. On a woman doll the ears do not have to be perfect because the hair covers it.
[29]
3. Double the wire and force the ends through the doll's head all the way through the core. Eight to ten inches of wire should be long enough to double and extend below the apple about two or three inches to later fasten to the body.
4. Soak the apple overnight in enough lemon juice to cover the apple. The apple will float so you may have to weigh it down. The lemon juice will keep the apple from turning black.
5. String the head on a string or wire and hang up to dry for about thirty days in a place with lots of air where no mice can get to it. The apple will begin to shrink and turn a slightly darker color. It will shrink to about one-third its original size. As it shrinks it will wrinkle like an older person, giving character to the face. When dried, remove the apple to a warm, dry place to keep it from drawing dampness.
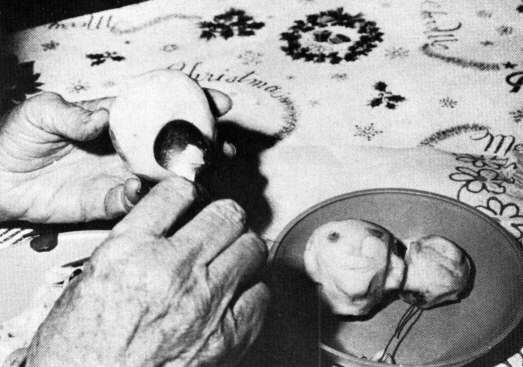
To form the ear press in the soft apple with the bowl of a spoon.
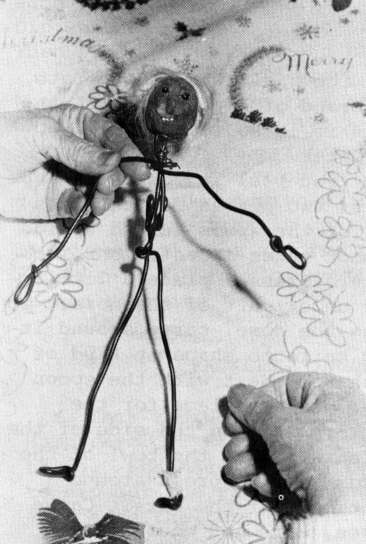
Showing the wire frame of the body. If the body is too long, fold a kink in the wire.

With a paring knife carve around the ears, nose, eyes and chin.
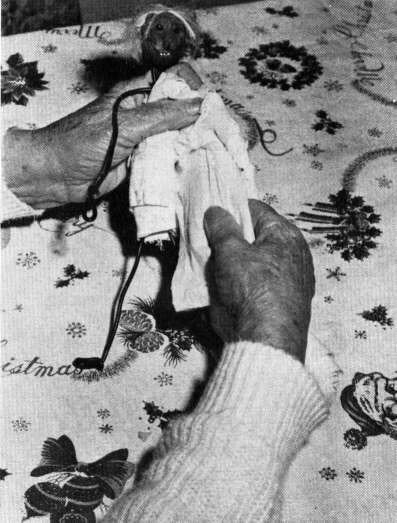
Pad the body with scraps of soft material.
[30]
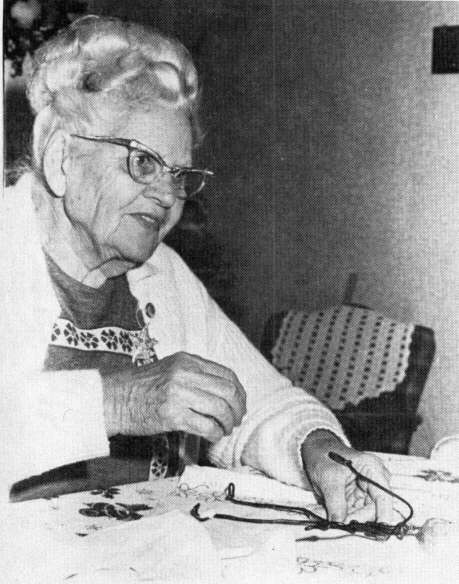
Nona King explains how to make applehead dolls.
6. After the apple has dried, you can push little white beads into the mouth to use for teeth, if desired. For the eyes, use blue or black sequins stuck into the hollowed places by straight pins. The head of the pin will serve as the pupil and the sequin the iris.
7. Hair for the dolls can be made from fine black or white yarn or from your own hair that has collected in a brush. This should be sewed or glued on to a piece of felt or material and glued to the top of the head.
For the body you will need about four feet of copper insulated wire, some pieces of material or tissue paper for padding and scraps of felt for hands and feet.
1. Determine the height of the doll by the size of the head. Form the body by using one longer piece of wire, about twelve inches long, for the main part of the body and for one leg. Where you fasten the other leg to the body can be judged by the length of the first leg. Turn under the ends of the wire for the feet. Attach the arms at about one-third of the way down on the body or about shoulder height. Turn under the ends for the hands. Copper insulated wire is good to use because it can be bent easily into any position without breaking. If you find the doll is too tall, simply double over a kink in the wire.

The flexible wire body will bend to any shape.
2. Attach the head to the body with the small wire that was put through it at the beginning.
3. Wrap the entire body, arms and legs, with the material or tissue paper to give the doll the desired shape. Tack in place with thread.
4. Cut small mittens and boots out of the scraps of felt or other material and place them over the hands and feet. These can be added after the clothes have been put on and sewed to the clothes, or they can be stuffed and sewed to the padding of the arms and legs.
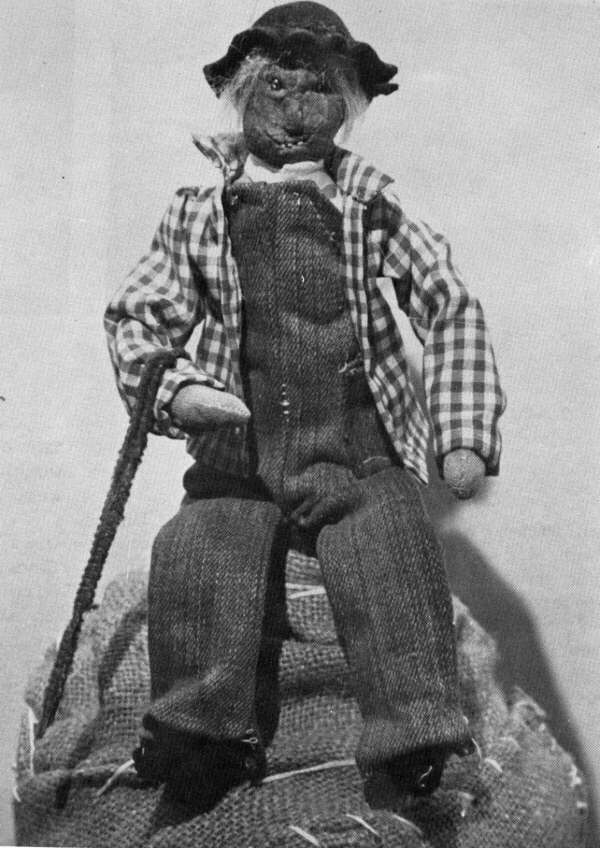
The dolls can be dressed in any way that seems fitting for the doll. A man may be dressed in overalls with a checked shirt, or a woman in a gingham dress, just whatever effect you want. The finishing touch may be a bonnet or a small felt hat, a walking cane or a little basket held in the bent arm. The flexible wire will bend to allow the dolls to sit, cross their legs or take any position desired.
It takes a lot of time and patience to make one of these dolls. Novelties costing $10.00 or more, these dolls were once playthings for little girls.
[31]
Copyright © 1981 BITTERSWEET, INC.
Next Article | Table of Contents | Other Issues
