 |
Volume IV, No. 1, Fall 1976 |
AN INTRODUCTION TO WOOD CARVING
Story and Drawings by Jeff Jaynes
Photography by Doug Sharp
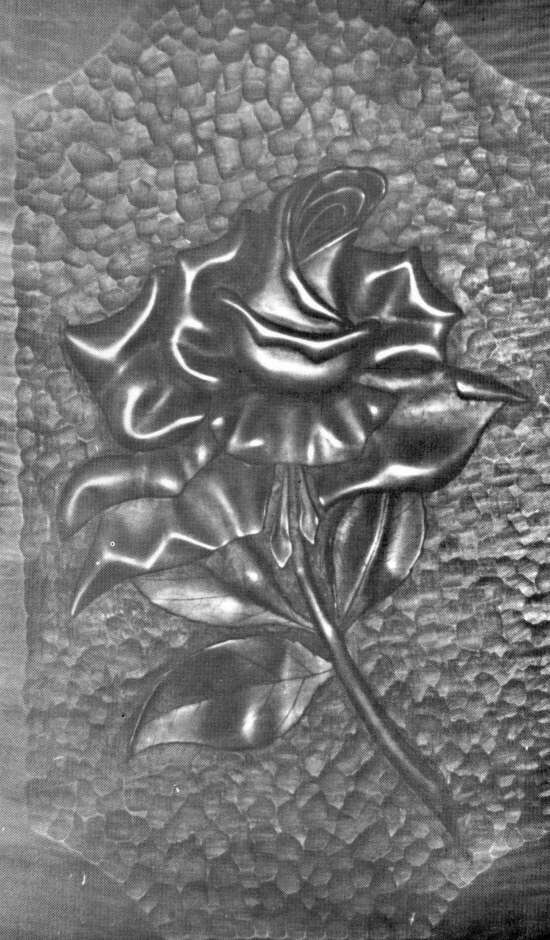
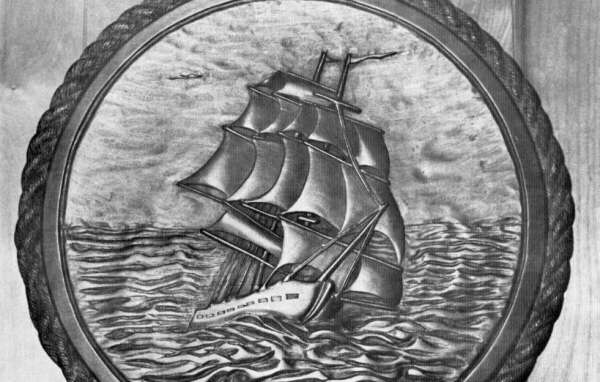
Carving wood in relief is only one kind of wood carving. Since it is not as difficult as figure carving, anyone can learn to do it. C. B. Thomas said you do more of it with your mind than your hands. With a piece of wood, a few chisels and a mallet you can use your imagination to make a flat board come to life.
 |
 |
[19]

This photo shows the many types of tools that are used.
MATERIALS AND TOOLS
Wood--
In any kind of wood carving use a hard wood. Hard woods like oak will not split and chip easily
as soft woods like pine.
The size of the block depends on the carving you want to do. Dr. Thomas used a three inch thick block of wood for his rose carving. It is getting harder all the time to find a good block of wood, You might find one at the lumber yard, or ask someone who works or cuts wood to save you some.
The wood needs no special treatment before beginning to carve.
Chisels--
The basic wood carving tool is the chisel. Though there are many kinds of chisels, in relief,
carving there are three basic ones.
1.The gouge--This chisel is used to dig into the wood. Its U shaped blade allows it to make a
deeper cut.
2.The vaining--This V shaped chisel is used to make little narrow grooves like the veins in the
leaves of the rose carving.
3.The sque--This chisel has a flat blade to make shallow or thin level cuts.
Care of Chisels--No one can carve satisfactorily without good sharp cutting edges on the chisels.
Using a chisel with a chip in it will pull and cause an uneven cut. Therefore, be sure to keep them
sharpened. To sharpen a chisel:
1.Grind off the old edge on a grindstone until the chip is gone.
2.Next, sharpen the edge on a whet stone using the same motion you would use to sharpen a knife.
3.Then sharpen the edge on an oil stone using the same motion as above. Put a few drops of oil
on the stone to keep metal flakes from staying on it.
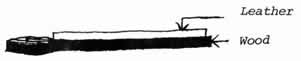
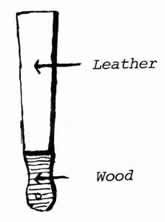
4.The last step puts the razor edge on the chisel. This is called stropping. A strop is a long narrow
board that has a strip of leather on it. To strop use a back and forth movement like a barber uses
on his razors.
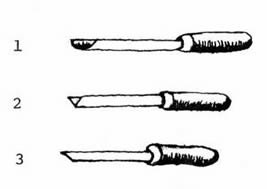
Showing the three basic tools used in wood carving: 1. gouge, 2. vaining, 3. sque.
Side view of the strop. Note the thick strip of leather on the handle.
Top view of the strop.
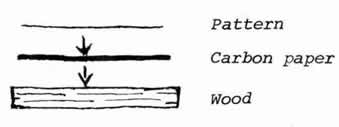
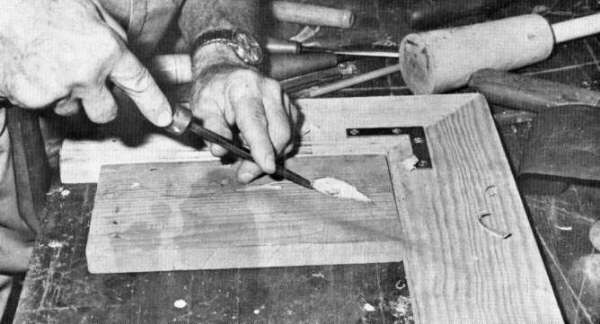
Showing the way to transfer the pattern to the wood with carbon paper.
[20]
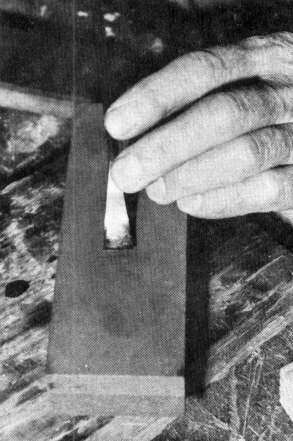
This photo shows how to use the whet stone to sharpen the chisels.

Using the strop to put the razor edge on the chisels.
The mallet--
The next tool is the mallet. This tool is used to tap the chisel to make smooth clean cuts through
the hard wood. The wide head of the mallet protects the chisel handles.
Corner Piece--
The corner piece is two boards mitered together at picture frame angle. Hooked to the table with
C clamps it is used as a brace to keep the piece of wood you are carving on from slipping.
Work area--
The carver needs a lot of room and a flat surface of comfortable height. It can be anything from a
table to a desk.
TRANSFERRING A PATTERN
After you have all the tools, wood and work area, the next step is to pick an easy pattern, then
transfer it to the block of wood. If you are artistic, you might want to draw directly onto the
wood, or you can use carbon paper to trace off the design you like.
1.Place the paper, carbon side down, next to the wood.
2.Place your pattern on top of this.
3.Trace around the pattern. This will transfer it to the wood.
It is important now to shade in places on the pattern to show which parts to cut deeper to give the carving greater depth.
Scaling--
If the design is not the size you want, you can use scaling to make it larger or smaller.
1.Mark the paper off into an even number of squares. (I marked mine off in one inch squares.)
2.Then you mark your paper off with the same number of squares but scale the squares bigger to
make the pattern bigger, or smaller to make it smaller.
3.Now draw what you see in each square onto the piece of wood.
This is the way to use the oil stone to sharpen a chisel.
[21]
KINDS OF CARVING
There are three kinds of flat plaque carving--chip, relief and incised.
Chip carving--
In chip carving the pattern is based on the square and triangle. The design is embedded in the
wood, deeper than the original surface. The special wood carving knife, shaped at an angle is used
in chip carving. To use the knife, place the point where you want the cut to be deeper, and then
rock the knife back and forth to make the cut the length you want.
Relief carving--
In relief carving the wood surrounding the pattern is cut away until the figure stands high. The
sque and gouge are used to get this effect. Place the gouge on the line of the pattern and cut away
from it. The gouge is also used to round the edges of the figures as is the sque.
Incised carving--
The figure is cut below the surface of the wood in incised carving, but instead of cutting away
from the figure as in relief carving, cut everything deep into the surface of the figure.
FINISHING THE CARVING
There are many ways to finish the carvings. Some like a smooth polished effect. Others like a rough finish. Dr. Thomas likes to sand his projects and finish them with linseed oil, hand rubbed until they shine brightly.
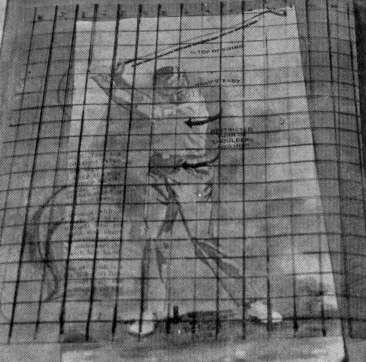
Here scaling was used to make the patterns larger or smaller.
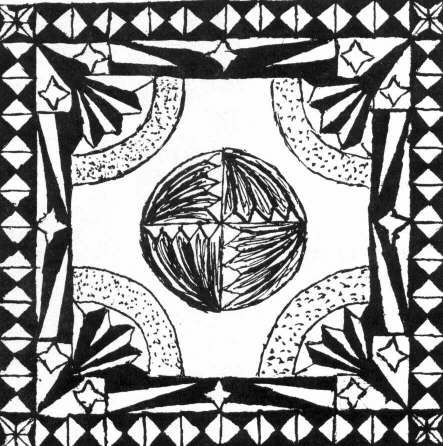
This is the drawing of the pattern Dr. Thomas used for his chip carving.
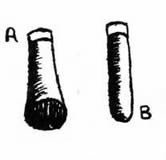
This shows the two types of handles: A. for hand use B. used with the mallet.

The finished product after scaling was used.
[22]
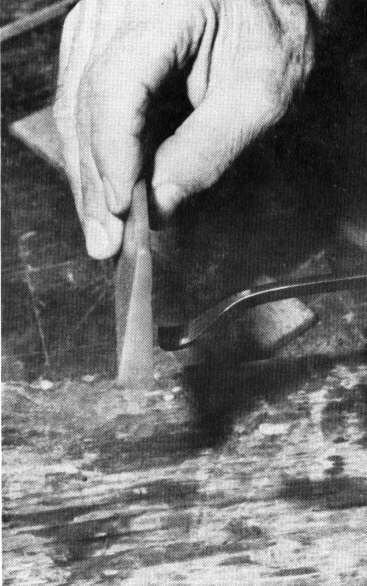
Putting the sque to use on a leaf
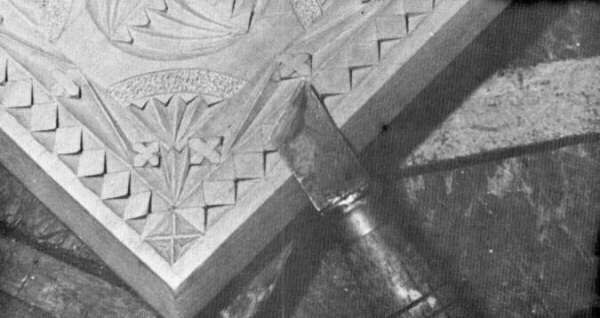
Showing wood carving knife used in chip carving.
Example of both incised and relief carving used to give a three dimensional look.
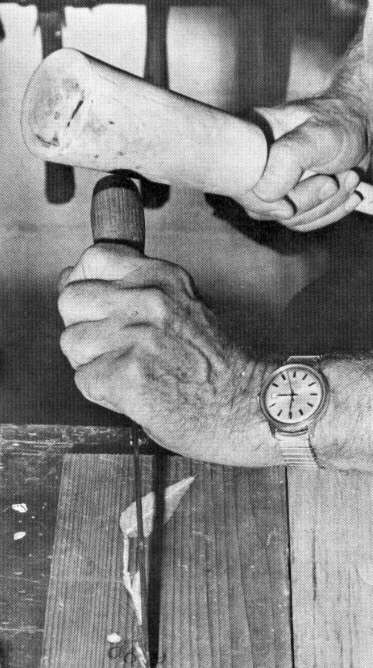
The correct way to use the mallet.
[23]
Copyright © 1981 BITTERSWEET, INC.
Next Article | Table of Contents | Other Issues
