 |
Volume I, No. 2, Winter 1973 |
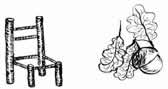
BOTTOMING CHAIRS
Drops of water fell in rhythm to the sound of his knife, as Roy Gage worked steadily, peeling strips of bark. The air was filled with the smell of fresh rain and hickory
Clad in bib overalls and blue work shirt, the man offered a friendly smile and a nodding hello He spoke freely with an occasional chuckle and a sigh.
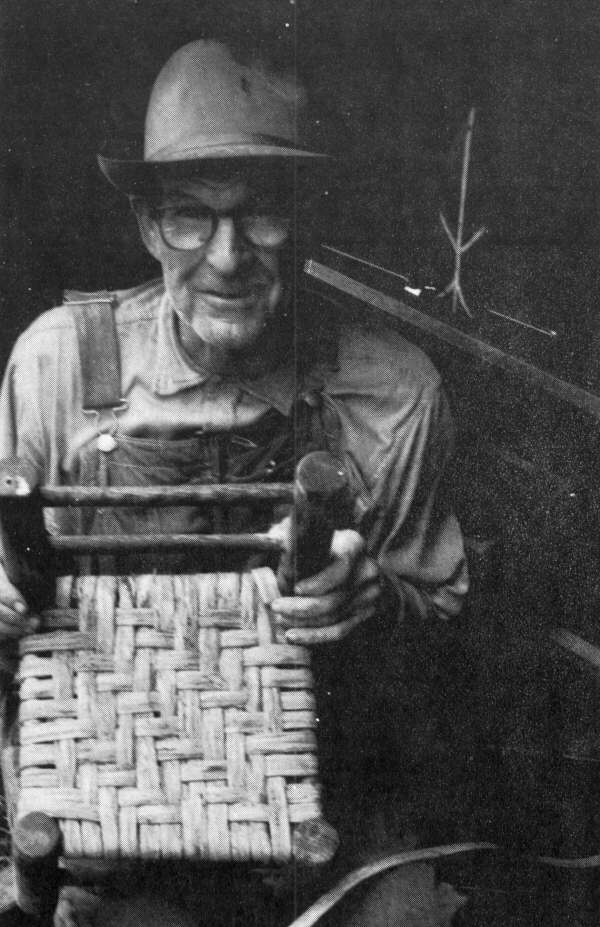
He wove a chair bottom from strips of hickory bark with agility, know-how and speed. His fingers raced time while creating the intricate weave.
Step by step he got the job done. When the chair was completed, Roy gazed upward with a contented expression, displayed his work. Skillful Weathered hands clasped the small chair and his features showed a satisfaction which broadened into a smile as he said, It isn't work to me; it is pleasure more than anything else.
[52]
ROY'S DIRECTIONS
You try to find a small tree that doesn't have any limbs on it, except now a knot. Course it will peel around them knots and not hurt it too bad. In the spring's the best time to get the tree when the sap's up, in April, May or June. That's a real good time. A dark moon is always a good time, and when you've had lots of rain, or when it gets warm, the bark's easier to give. It just slips off. It's the wrong time of year now (September) and the bark won't slip; so now, course, you have to shave it off like this with a draw knife. (see plate number 2) Just peels off, you see. You take a knife here and cut this right down here and it just comes off as easy.
I've quit making chairs now on account of this here bark, because you can't get bark to bottom them. But I had a good trade making chairs. When I used to make chairs and nothing else, I could make about four a day, making the chairs and bottoming them.
I been making chairs I'd guess for thirty years. You know this homemade stuff, people goes for it, I don't know why.
White hickory's the best wood. You can use red el-um (elm), but it's not as good. It makes a fairly good bottom if a person don't stand in it, if you ain't got a bunch of kids to be up in it all the time. It don't last as long and breaks a lot worse than this here hickory.
Now start up at that other end, then just come right on down through with it and it'll make long strips. It's kinda like leather. It won't hardly break It's kinda hard to keep it the same width but I don't try to because it's not noticed in the chair no way.
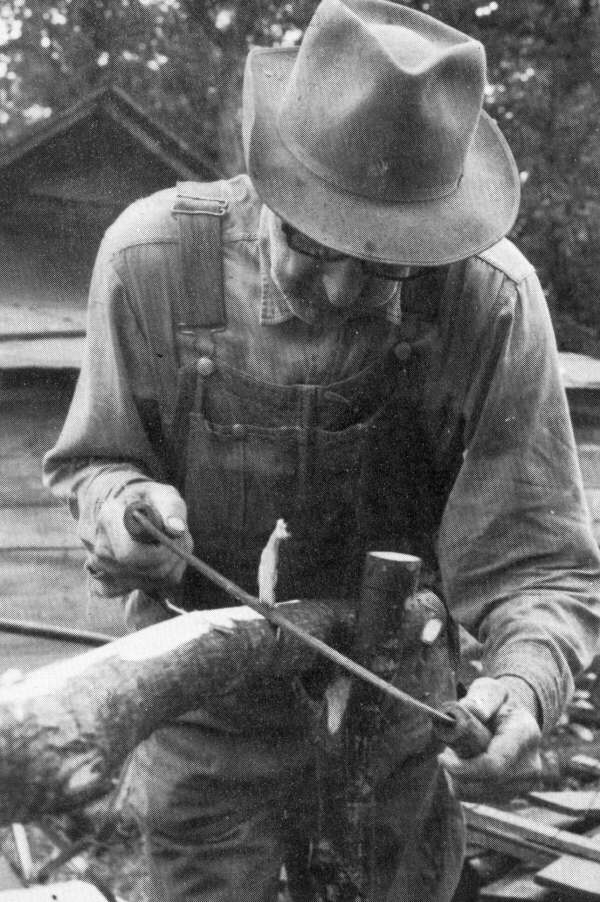
Stripping the outer layer of bark
[53]
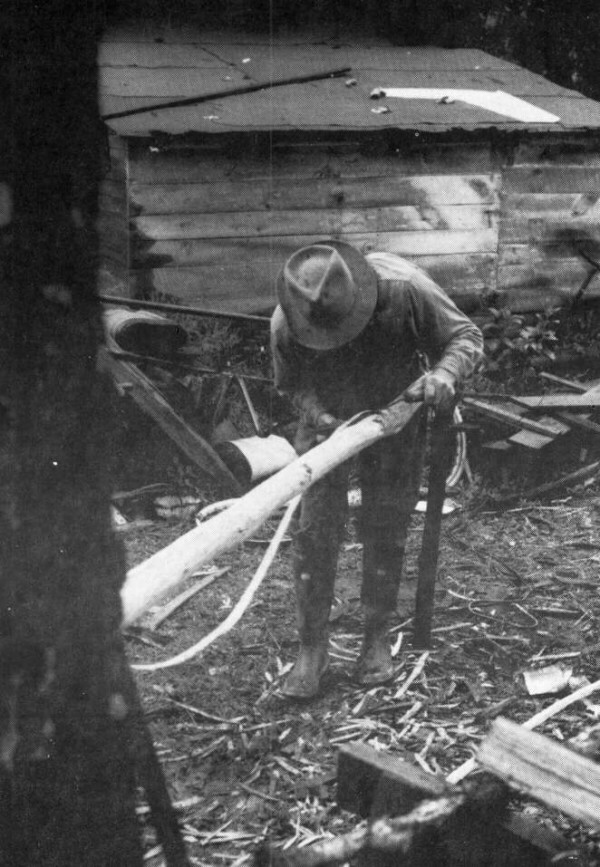
Peeling the long strips of hickory.
After the outer bark has been stripped, Roy uses a draw knife to peel off long strips of hickory. He then trims the edges of these with a pen knife to make smoother, neater strips for weaving. He soaks the strips in water to make them pliable and flexible enough to weave. When the strips dry they draw up making a fastening the strips to the frame tightly woven seat.

[54]
BASIC PATTERN OF WEAVE
Row 1 - Under 2, over 2, under 2...continue over 2, under 2 pattern
Row 2 - Under 1, over 2, under 2...continue over 2, under 2 pattern
Row 3 - Over 2, under 2, over 2 ....continue under 2, over 2 pattern
Row 4 - Over 1, under 2, over 2 ....continue over 2, under 2 pattern
Complete steps 1-4 until seat is filled up.
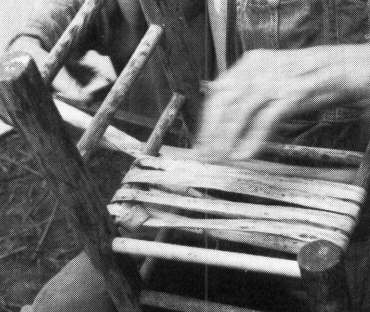
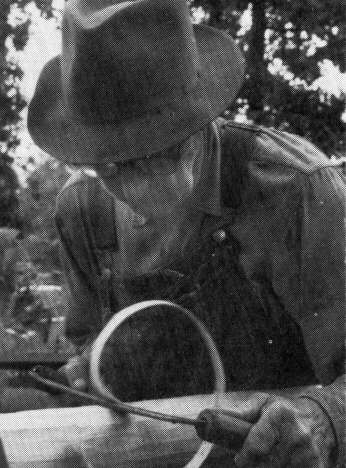
Fastening the strips to the frame.
Roy ties a knot at the corner of the chair frame and wraps the strip around and around the rungs of the seat frame from front to back until the frame is filled in. (see above)
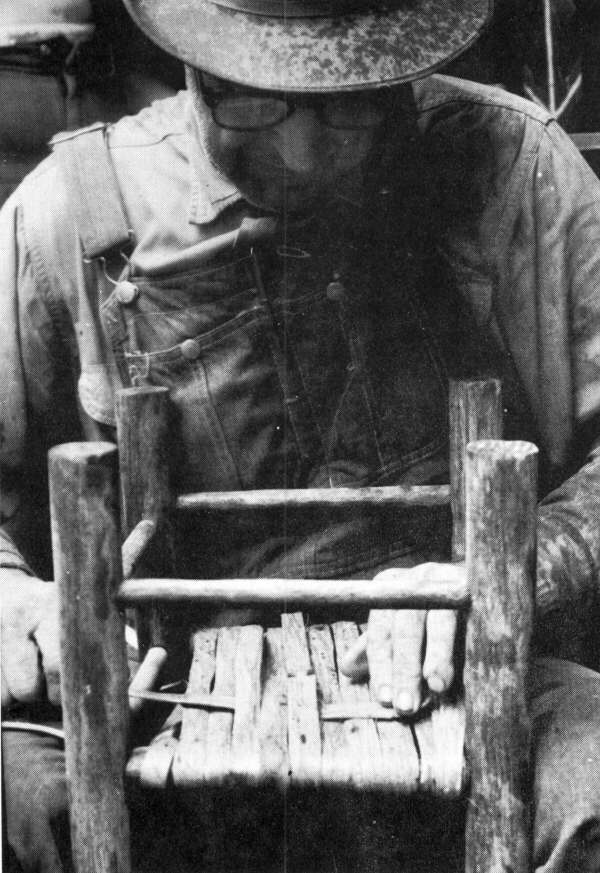
Once the strips are on vertically, he begins to weave. He brings the last vertical strip of bark over
the back rung and under the side rung to begin the horizontal weave. The bark is slipped under
and over the other strips horizontally making a tight, strong patterned surface on the upper and
underneath sides of the chair seat in a double woven
design. (see below)
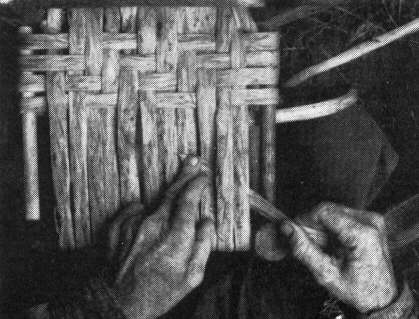
The under-over pattern.
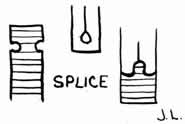
The weaving is done with one continuous strip of bark. Since the strips are not long enough to do the whole seat bottom they have to be spliced. With a pocket knife, Roy cuts a hole in one end and makes a one-inch vertical slit from the hole. On the new strip he cuts a notch as shown in the diagram to fit into the slip and hole. This makes a strong, smooth splice that will last as long as the seat. These are made on the underneath so not to show.
[55]
As each row is woven on the top side, the strip is then brought underneath and woven through the vertical strips.
On the bottom put over three and under three for you see it don't matter none. It's quicker. You have to watch for mistakes. It's kind of hard to get on to. I'll probably make a mistake directly. It don't make no difference if you make a mistake on the bottom. It don't show no how.
When the bottom is completely woven, the end is tucked underneath then where it can't be seen. When the seat dries, the end of the strip will be tightly secured.
Roy worked rapidly and easily. When finished, he explained modestly, This ain't very hard to learn. Anyone could learn. I did and I'm not as smart as a lot of people. You just sit down and watch me a time or two while I set here I could show you how to do it.
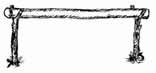
WOODEN FRAME FOR STRIPPING
Interview by Jay Luthy and Patti Jones Photography by Robert McKenzie and Rick Bishop Art by Patti Jones
[56]
Copyright © 1981 BITTERSWEET, INC.
Next Article | Table of Contents | Other Issues
